This post may contain one or more affiliate product links. Pursuit of Simple is a participant in the Amazon Services LLC Associates Program, an affiliate advertising program designed to provide a means for sites to earn advertising fees by advertising and linking to amazon.com. View my Disclosures to learn more.
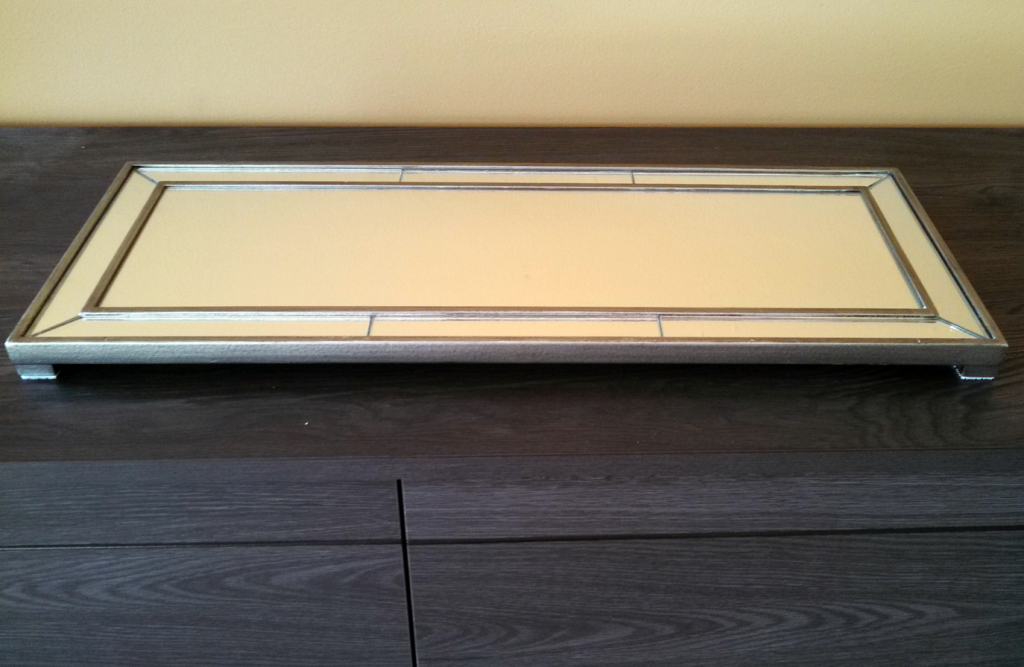
When my husband and I registered for our wedding almost twelve years ago, I picked out this beautiful tabletop mirror that was intended to be used to display candles. We did, in fact, receive it as a wedding gift, but once it was time to unpack all our gifts and decorate our little apartment, I never could find a suitable place for it. It was just a little too big and awkward for our coffee table, dresser, or any other open surface where I attempted to put it.
We’ve moved several times since then, and every time I unpacked our boxes, I contemplated getting rid of it because I just kept putting it back in the box for storage. I really didn’t want to get rid of it because I loved it, but it seemed silly to keep hanging on to it when we weren’t even able to enjoy looking at it.
Just before putting it in the “get rid of” pile, a thought occurred to me that it would make a great decoration for the wall if we could find a way to hang it. It didn’t have the hardware on the back to hang it since it wasn’t designed to go on the wall, but I brought it to my engineer husband and asked if he thought he could find a way to easily hang it. I should also mention that the mirror is pretty heavy, so I knew hanging it might present a bit of a challenge.
The solution was not only simple but extremely inexpensive too. Allow me to introduce you to 3M Picture Hanging Strips, which are part of the Command ™, Damage-Free Hanging line of products. The strips cost about $6-$12, depending on where you buy them, as well as the size and quantity in the box. (Note this product is different than the more widely known poster hanging strips, which can’t hold as much weight.) Because these strips are so easy to use, it probably took my husband a grand total of five minutes from start to finish to repurpose the mirror and prepare it to be mounted on the wall.

A Few Easy Steps:
Purchase the appropriate size picture hanging strips based on the weight of what you’re intending to hang. They come in small, medium, or large, and each one designates on the package how much weight it can hold. We needed the large size strips for our project. I suggest weighing your artwork before purchasing the strips to make sure you get the right size (the first time).

Mark on your wall where you want to hang your picture, mirror, artwork, etc., and make sure to clean the surface with isopropyl alcohol before mounting.
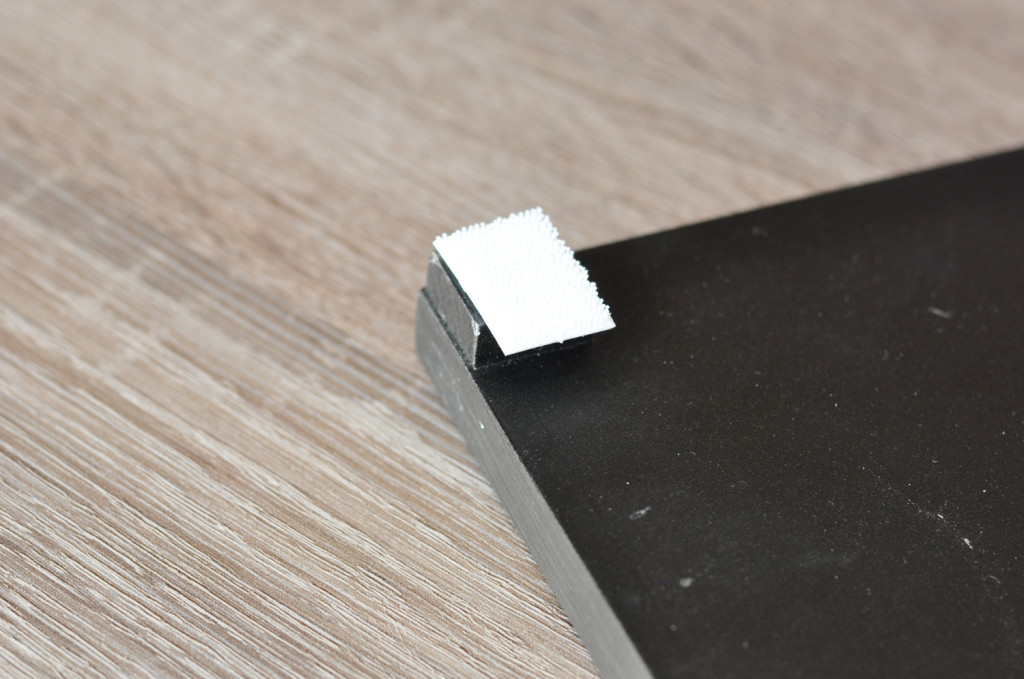
Follow the mounting instructions on the package, which are clear and very user friendly. The only thing we did differently was to trim the strips because our mirror had little “feet” instead of a large flat surface like a picture normally would.
And if you’d rather watch a short video clip instead of reading the instructions on the package, click here to see how to apply the strips and mount them on the wall.
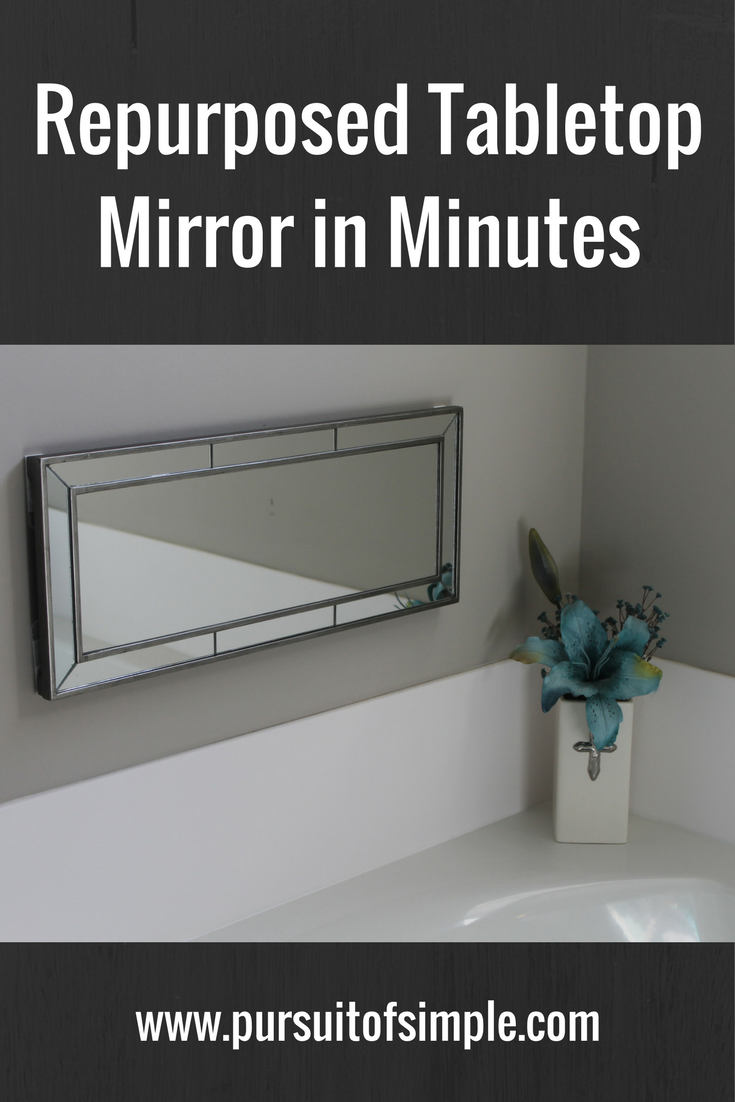
These little strips were seriously the perfect solution for our mirror. Now I actually get to enjoy seeing the mirror in my bathroom everyday instead of having it sit on the bottom of a box in the garage!


Leave a Reply